
I’ve got this Yoga block you see. The type used by people who do Yoga. It’s like a stiff foam cushion. My wife gave it to me asking if I could find a use for it. So being a gamer I cut it up to see what it was made of and discovered it looked quite like stone and was dense enough to glue together and not too porous for taking a coat of paint.
So first up I built some stonehenge style scenery pieces. Which you can see in my Scenery Gallery.
Then while working on some 28mm rockmen I thought of using the Yoga block to create some Earth Elementals. I had already bought two pre-painted plastic D&D miniature Earth Elementals. Both about 45mm high but wanted a bigger Earth Elemental, equivalent to a giant.
So I cut a slice off the yoga block and set to work.
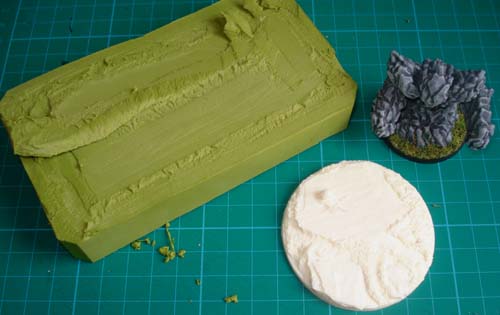
Here we can see the piece I cut off the Yoga block alongside the pre-painted D&D earth elemental (re-painted by me) and a 60mm resin base from Black Cat Bases.
Although I cut about an inch off the end of the block I didn’t need to use all of it which just goes to show how useful and cost effective the blocks are. Normal size block is about 9 inches by 3 inches.
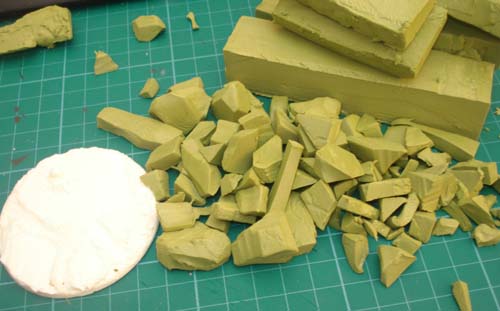
Next was to start cutting up the block into rock shaped pieces. I tried to avoid making sawing motions with the knife since these look like obvious cut marks on the pieces of foam. To make the rock shapes I simply cut pieces off the blocks at random angles. There was no need to worry about cutting specific arm or leg pieces. Nor did I worry about cutting some pieces too small at this stage. Was happy just to create a pile of different sizes.
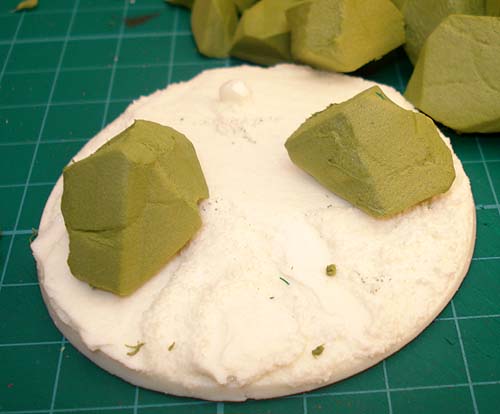
I then chose two pieces which looked a bit like feet and where I had left one side completely flat. I positioned them on the resin base to get an idea of the stance of the elemental.
Initially as you can see by the picture I went for the feet side by side as if the elemental would be standing still.
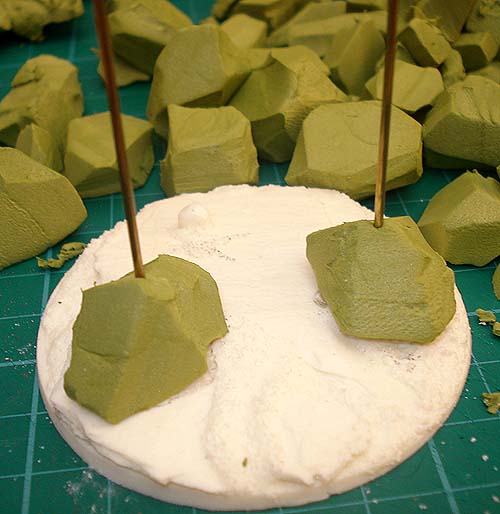
Because the foam is not rigid I decided to use some wire as a sort of armature to strengthen the model. So I simply pushed the wire through the foot pieces (no need to drill) and into the base and used the hot glue gun to fix them in place.
I used the hot glue gun because it dries very quickly and sticks to the foam very well. Using something like superglue on foam can be dangerous and I thought the foam would be too porous anyway.
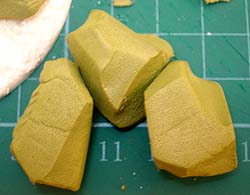
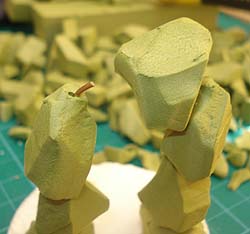
Using the glue gun I continued to thread leg pieces onto the wire and stick them in position. For doing the pelvis/waist I chose some pieces first for all three parts that would make up this part of the model. Once I was happy with the arrangement I thread the two leg parts on and then bent and cut the wire. I wasn’t going to try and thread the leg wire all the way up the body, but did want to have a bit of wire to strengthen the pelvis.
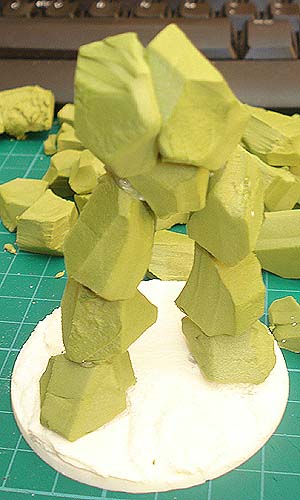
With the legs done I moved onto the torso. Rather than one big rock piece I decided to go for tow large pieces to look a bit like the two halves of a human chest. When sticking these two pieces together I placed another piece of wire in the middle which I then used to stick into the pelvis for strength.
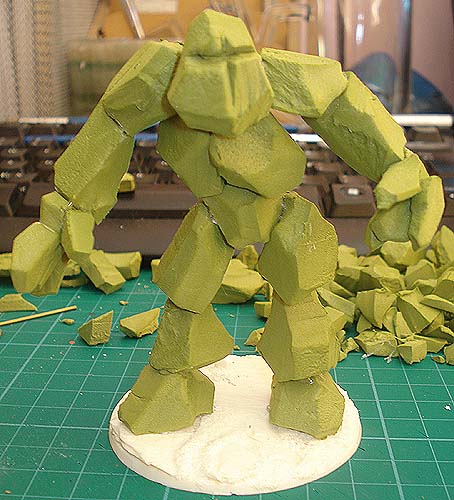
Continuing the process I added shoulder pieces and then using the same wire armature technique as the legs threaded arm pieces on.
So we can see the model taking shape. The head piece is one of the few pieces I cut from the foam specifically. I was originally going to go for the face being made up of lots of small rocks, but felt this would be too difficult. So I opted for a roughly face shaped block and cut an eye type slit across it and a further piece down the middle. So it looked a bit like a medieval knights helmet. I resisted doing a mouth since I was worried it might make the model look a bit cartoony.
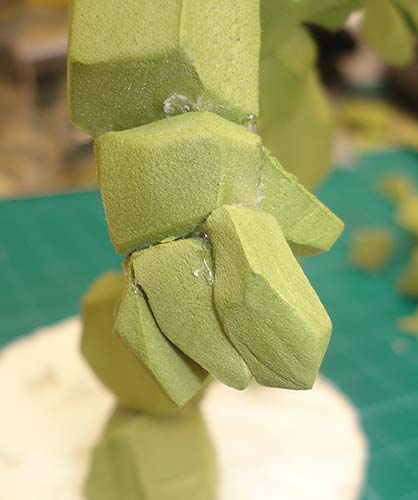
Doing the hands proved to be a bit tricky. I could have just had the arms end in large rocks but wanted to try and make some sort of hand. In the end I cut four long straight pieces to act as three fingers and a thumb. I also used another small piece as the wrist/palm of the hand. It took a couple of goes to work out but came together in the end.
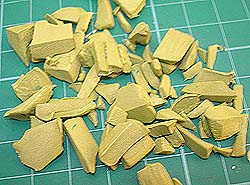
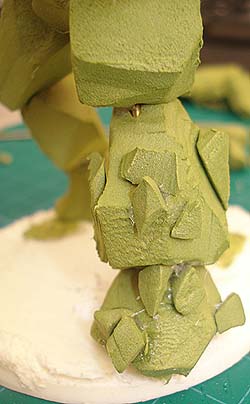
I could have left the model there (as was my initial intention) however I decided to add lots of small rock like pieces to the whole model. This I felt would make it look more like a natural collection of rocks rather than something constructed (essentially the difference between Golem and Elemental). So I went back to all those small pieces created in the initial cutting up of the rock shapes and added some more to the pile. I then started randomly gluing them to the model. Doing this process was also good for covering up things like the wire armature and adding strength to some of the joints, by wedging small pieces in.
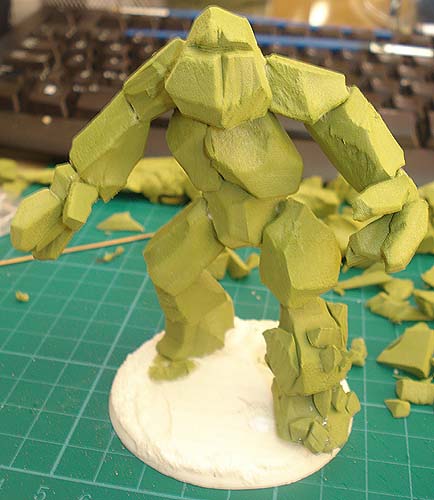
As I started sticking on the small rock pieces I took another look at the stance of the model. I decided it would look better on the move. So I took it off the base and repositioned the legs. The beauty of building out of the foam is that you can squash the pieces to fit. Bending the wire armature also helped give some idea of motion.
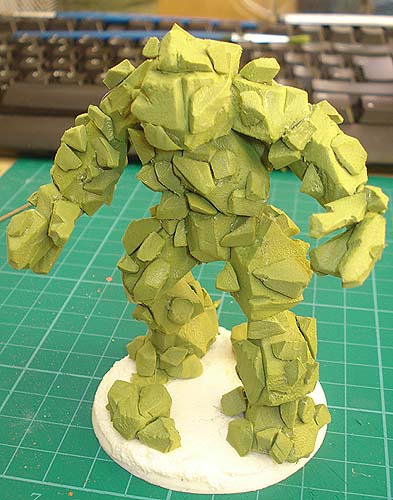
I got a bit carried away with sticking on the smaller rocks and had to calm down a bit before losing all of the model underneath! But as you can see it looked a lot better for all the extra detail. I also stuck a few of the rocks to the base.
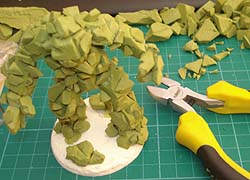
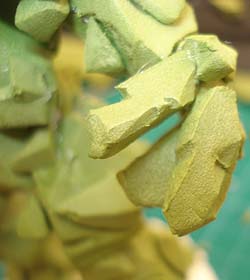
Once I was done I noticed there were a lot of straight lines on the model. Although not a big problem it looked a bit to neat for a collection of rough rocks from the earth. So I used a pair of wire cutters and just took little nicks out of some of those straight edges. I could have used scissors since they would have cut the foam just as well. You can see the size and type of pieces I cut out on the fingers in the picture.
Now all that was left was to paint the Earth Elemental.
Now to date every miniature or piece of scenery that I’ve painted that was supposed to resemble rock or stone, I painted grey without fail.
So this time round I wanted to try for a different stone colour, something like sandstone, anything but grey.
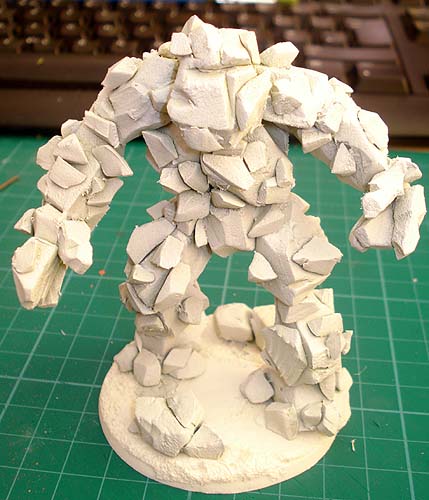
Anyway first up I sprayed the whole model with Games Workshop white undercoat. I expected the foam to soak up a lot of the paint but that didn’t seem to happen. The undercoat covered the model well enough so I applied the first base coat.
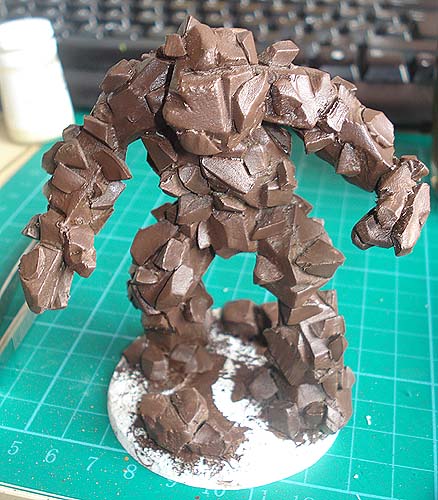
I went with Chestnut Brown (coat d’arms 219) covering the whole model. I used a big brush and made sure I got paint into all of the cracks. Once I had got a nice even coat on the model I left it for a while to dry.
Although acrillic paints dry quickly the porous nature of the foam makes some areas dry quiker than others. So I left it for a bit longer. Once it was fully dry I decided to add a brown ink wash (coat d’arms 136). This I hoped would fill all the cracks and create some good shadowy contrast. Didn’t work out that great again probably due to the foam. But it did serve the purpose of getting a few bits I missed with the paint and darken the base coat nicely.
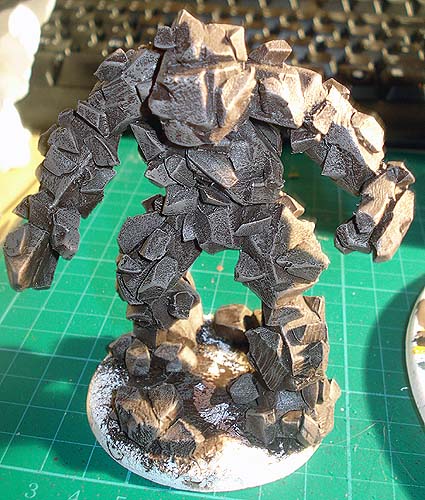
I thought my best bet was to just keep drybrushing the model with lighter shads of the base coat. So I mixed the Chestnut brown with some Pale Sand (coat d’arms 522). I brushed this on but the colour was turning more like milk chocolate. So I decided to try dry brushing with the pale sand as is.
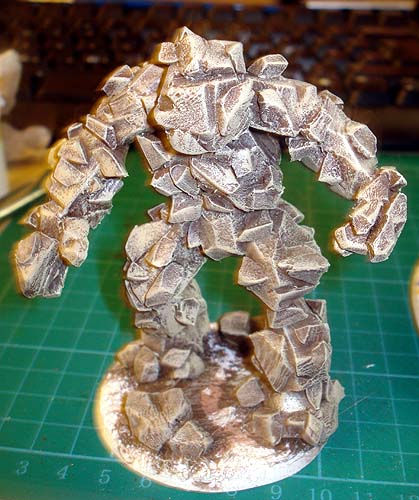
This dry brushing with just the pale sand worked out ok. So I applied another layer (keeping more paint on the brush second time round). I managed to get closer to the colour I wanted at this point, but thought it would benefit from a last bit of highlighting. So I used Linen (coat d’arms 233) as a final light drybrush and left it at that. I could have painted each rock a slightly different shade to make it look more realistic, but didn’t have the time and this was for the tabletop not display cabinet.
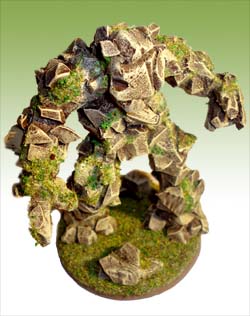
Final touches were to flock the base and I also decided to put some flock on the model its self. As moss or other vegitation growing in the cracks in the rocks. I applied some standard PVA glue to parts of the model and pressed flock onto the glue to make sure it stuck.
As you can see I think the model came out very well for having been built and painted in a day (not to mention made out of foam!)
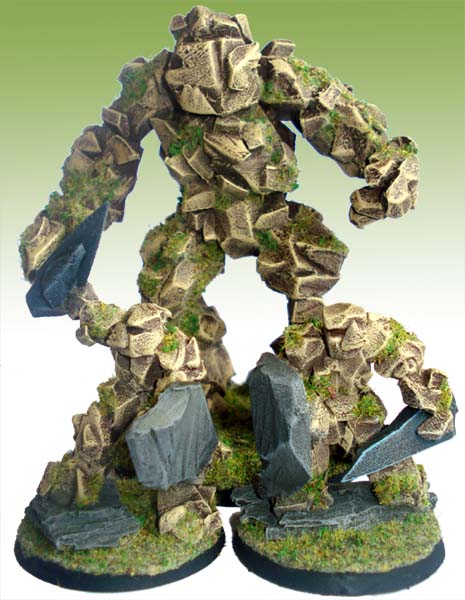
Another angle of the finished model. This process worked so well I decided to make more Earth Elementals. The picture shows two Rock Warriors made in exactly the same way as the elemental only the warriors are only 45mm tall. Sort of troll or ogre sized.